Identify Hosting Server
Use Website IP Chrome Extension to easily find the IP address of the existing site. This extension displays the IP address of the current website in the bottom right corner of your browser. Determine the IP address of the existing site to find out which server currently hosts it.


to LastPass and search for the last octet of the server IP address to find the corresponding entry linked to the hosting server.
Backup the Website in Plesk

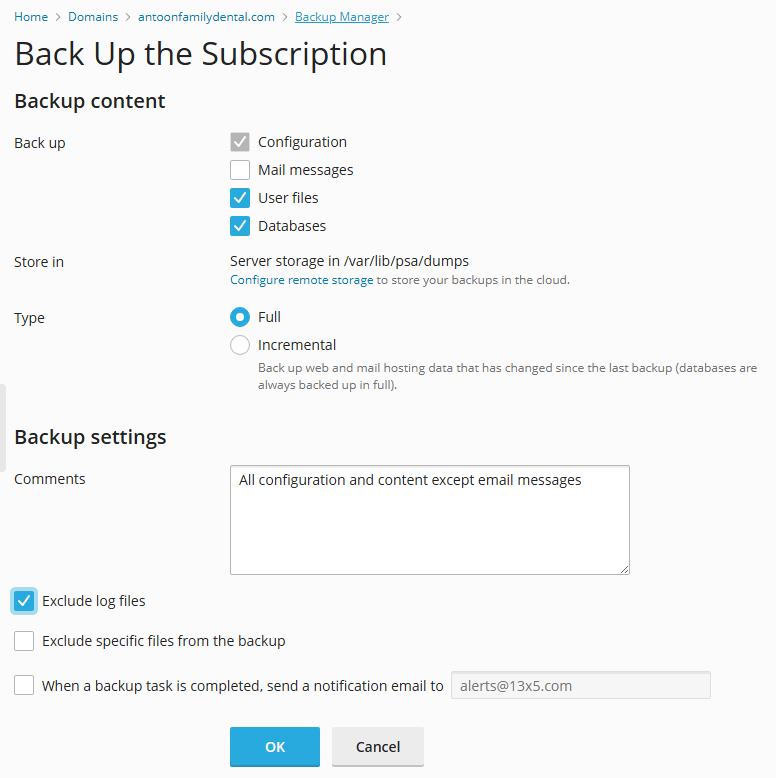
Log into Plesk > Domain > Dashboard > Back Up and Restore > Backup.
Select the following options:
- User Files
- Databases
- Type: Full
- Exclude Log Files
Click OK.

Create a Site Archive in PLESK

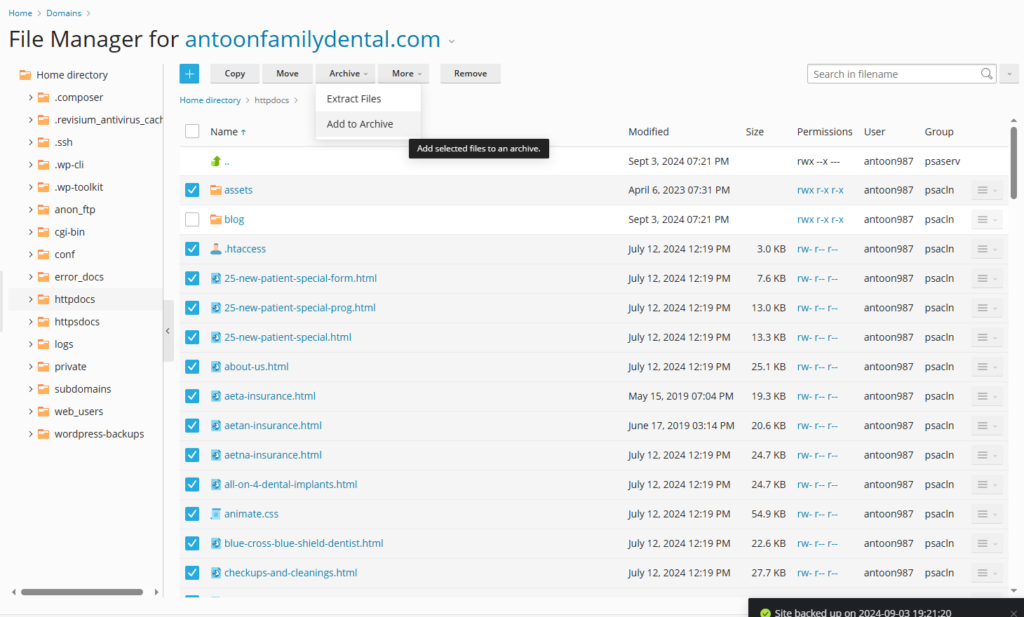
Navigate to Dashboard > Files (httpdocs is the default).
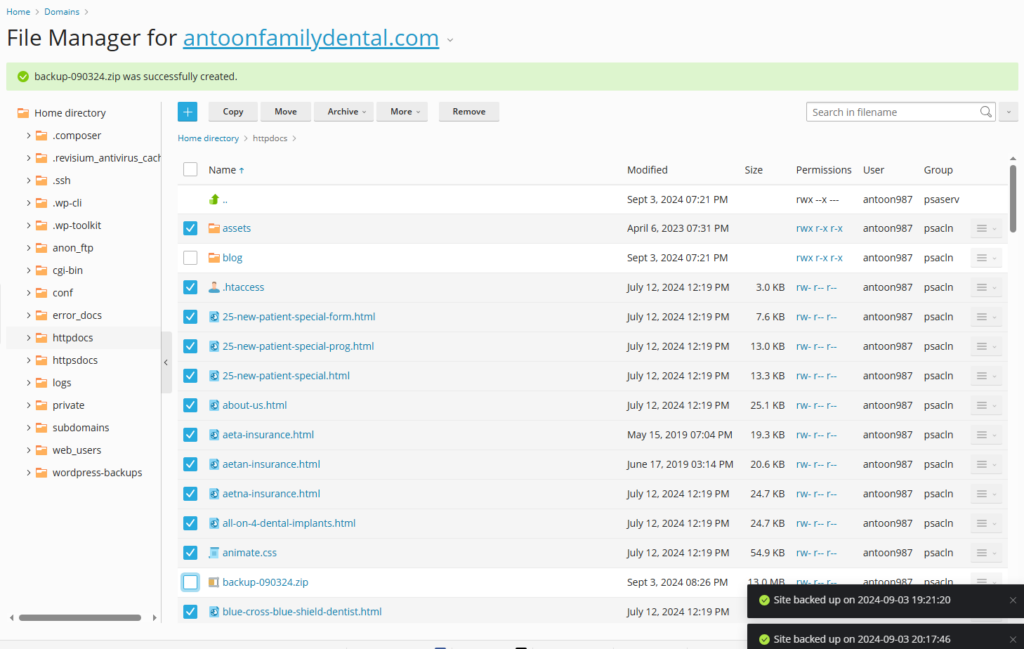
Select all files except the blog and select Add to Archive from the Archive dropdown.

Save the archive with the current date:

Backup the Blog
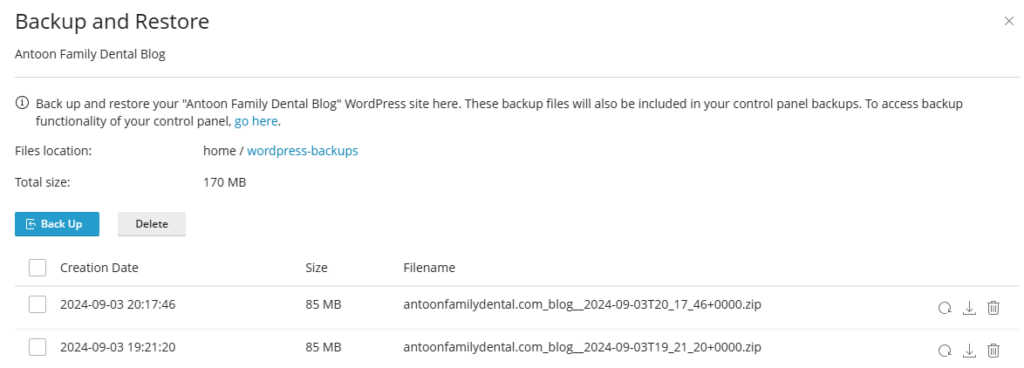
Navigate to WordPress > Backup and Restore > Backup
Wait for blog to complete the backup process

Clear Existing Files
Navigate to Dashboard > Files.

Remove all files except the following:
.well-known(if present)blog- The previously created archive list
- Remove
This step ensures that all current assets are deleted, except for the blog. Remember, the blog has its own image library, so your posts and images will remain intact during the transition.

