If you are looking for a faster way to create and maintain a TNT Custom WordPress theme that eliminates the header elements that result in a 2x title tag, canonical issues, 2x description meta, an extra viewport and the “comments closed” message, you are in the right place. The Updater also replaces local links with global links when the theme is created.
Once installed, use the “Update Theme” button to inherit all changes to the site template.

Pre-Install Checklist
Make a backup of your blog before doing anything else.

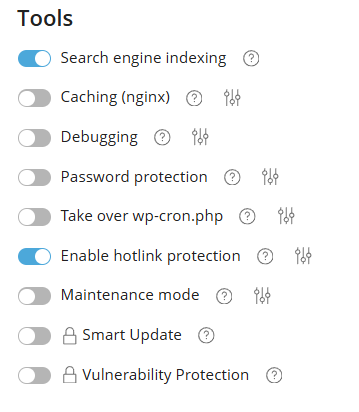
Make sure “Search engine indexing” and Enable hotlink protection” are both active
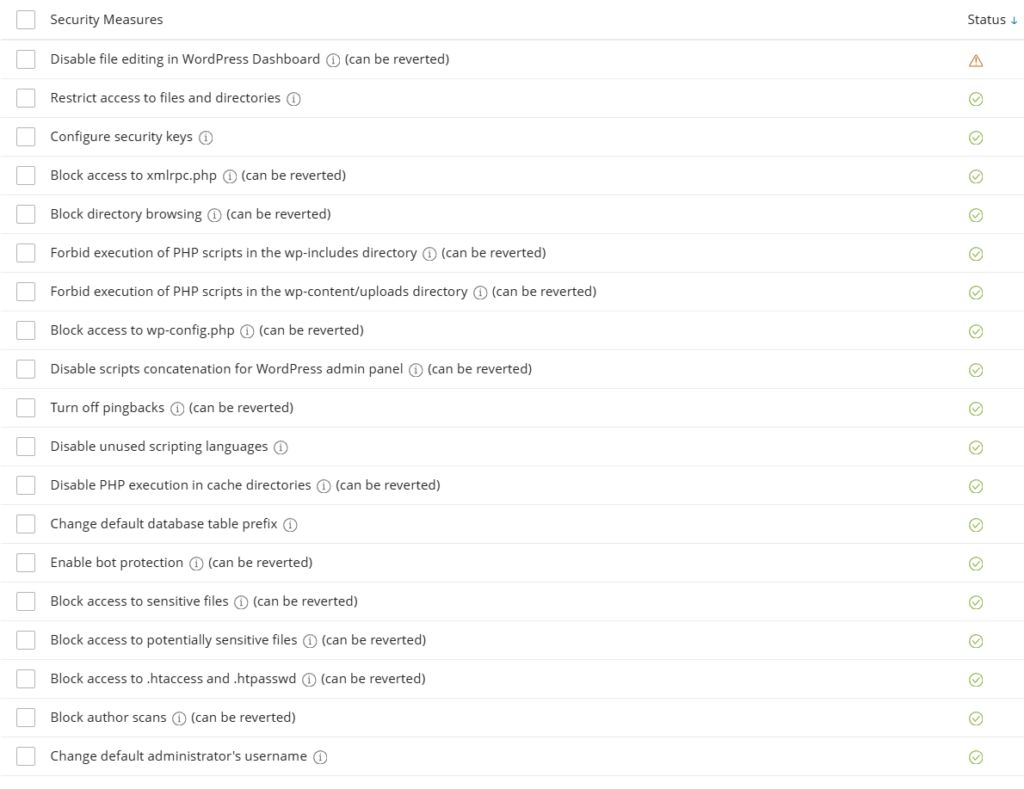
Under Security make sure everything, but “Disable file editing in WordPress Dashboard” has a green check mark under “Security Measures”
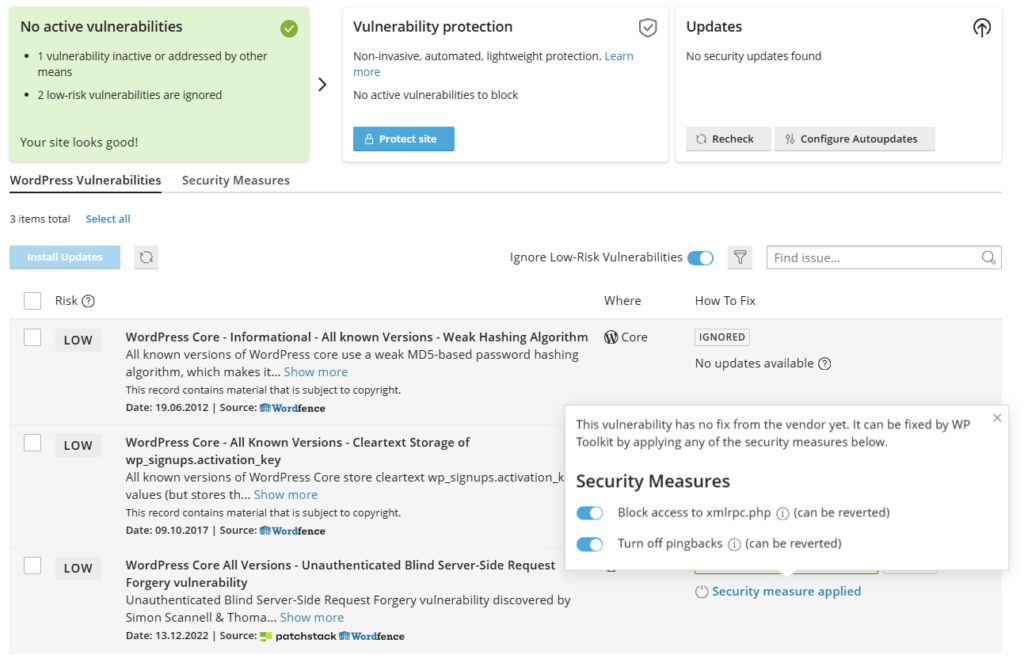
Make sure “Block access to xmlrpc.php” and “Turn off pingbacks” are active under “WordPress Vulnerabilities”
Update the Yoast plugin and make sure Autoupdate is toggled On.
Remove any unusual non-custom themes and plugins.
Make sure WordPress and PHP is up to date.
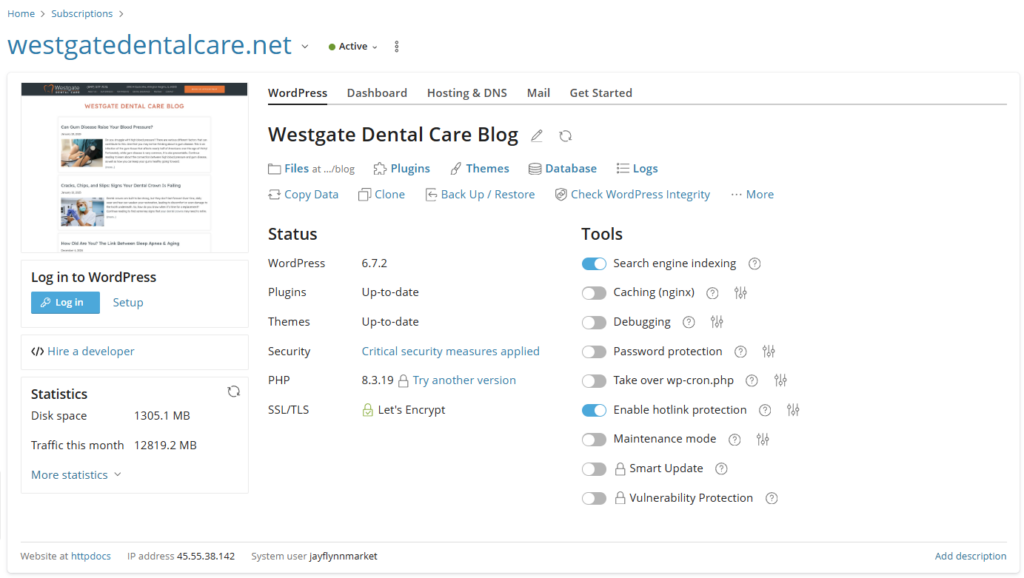
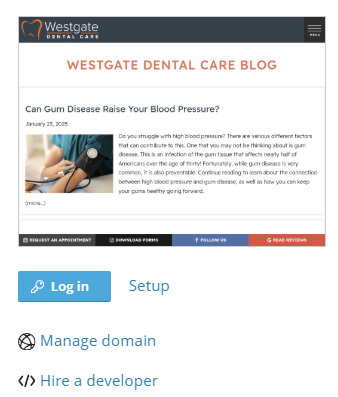
Your WordPress dashboard through PLESK should look like this when complete:
Reskin The Blog
Download and install the files below to get started.
Unzip tnt-custom-2.62 and install the folder under themes while in PLESK.

Unzip custom-header-footer-injector-2.62 and install the folder under plugins while in PLESK.

Log into WordPress from PLESK
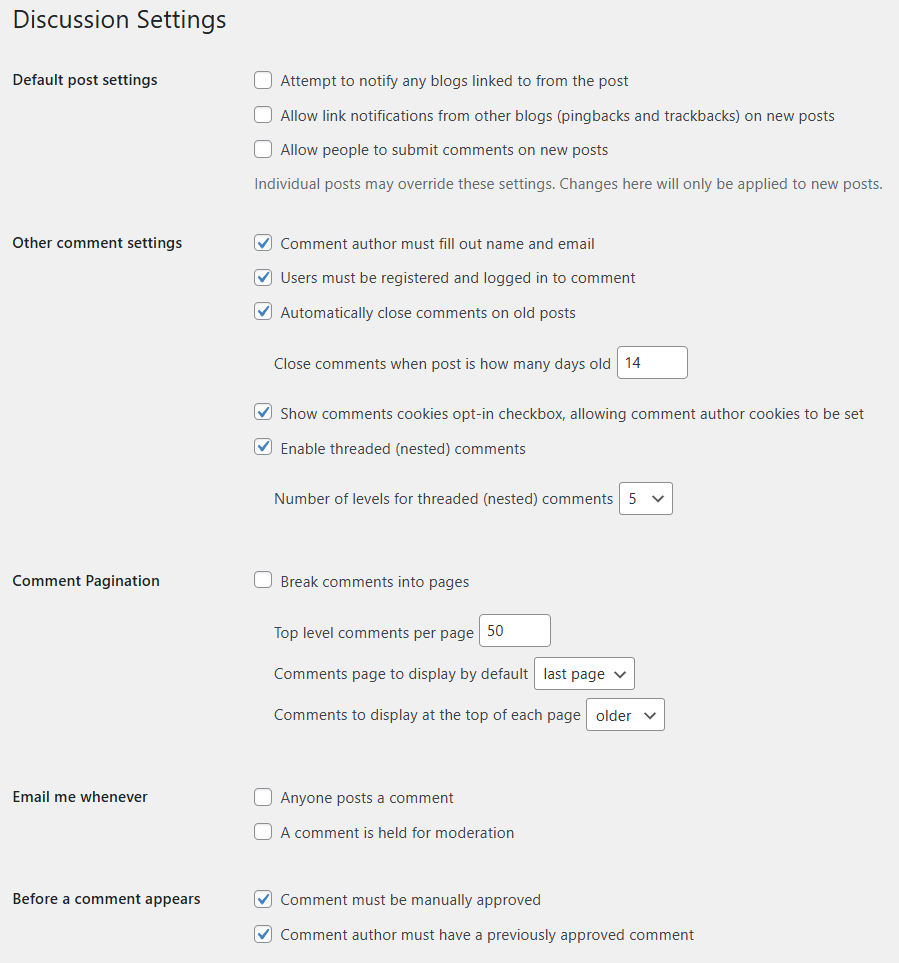
Make sure comments are Inactive. Go to Settings > Discussion and make sure the following are checked / unchecked:
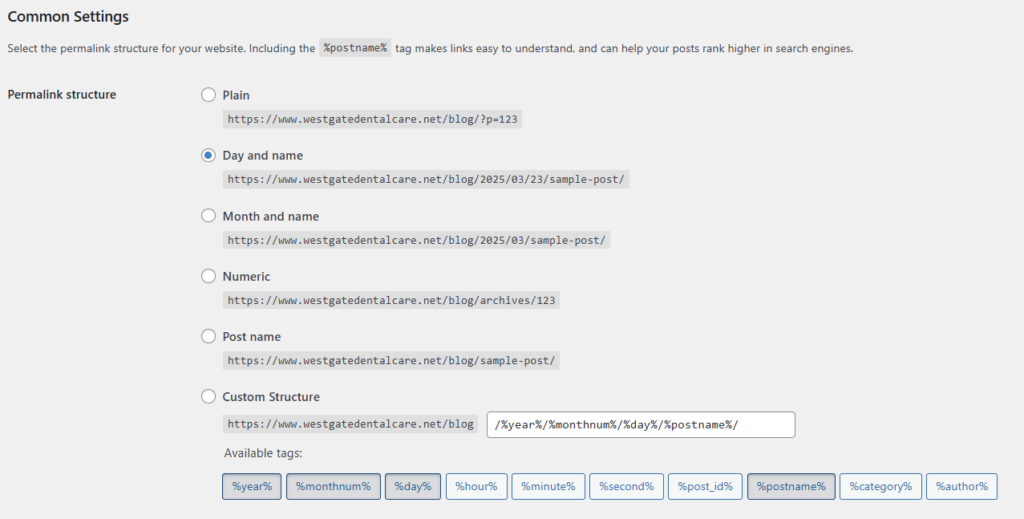
Make sure Permalinks are anything but, Plain! Go to Settings > Permalinks to check. If Plain, change to Post Name. Otherwise leave as is. For new installations or less than 5 blog posts change to Post name.
Finally – Installation
- Download TNT Custom – Client 2.62: install the zip file as a WordPress theme – /blog/wp-content/theme
- Download custom-header-footer-injector – 2.62: install the zip file as a WordPress plugin – /blog/wp-content/plugins
- Activate the theme
- Activate the header/footer plugin
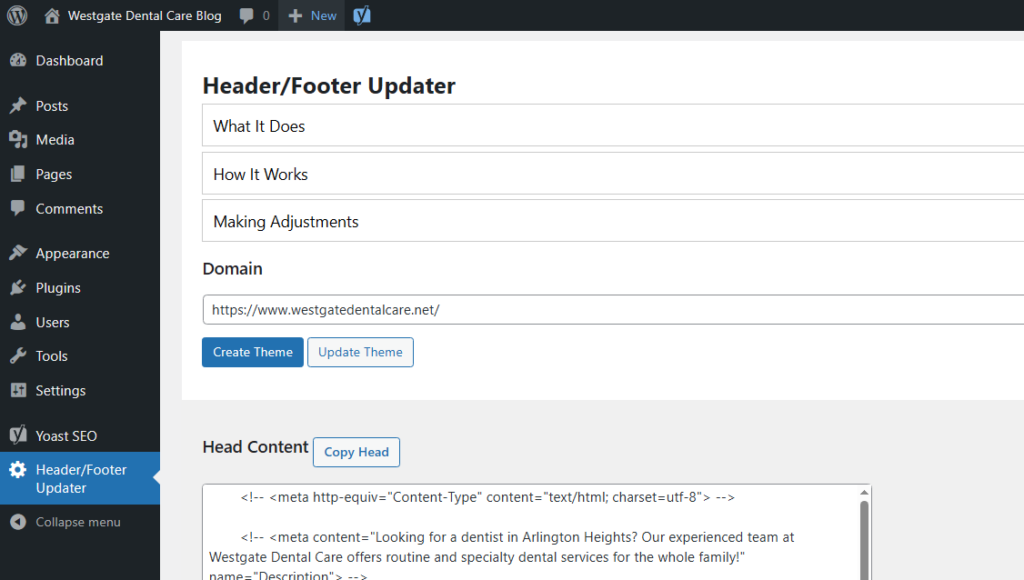
- Go to Header/Footer Updater
- Add the domain name that will be used to create the WordPress theme in the space provided using the full URL – https://www.example.com
- Push the “Create Theme” button
- Use the Theme File Editor to make adjustments to header.php as before.
- Customize your theme by copying the styles included (AdditionalCSS) under > Appearance > Theme File Editor>
- Paste the AdditionalCSS styles found under Appearance > Customize > Additional CSS and modify the styles to further reflect the appearance of the website.

Final Steps
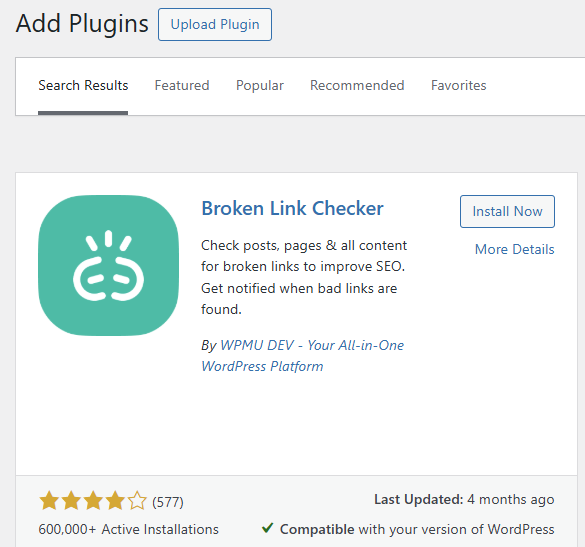
Check for Broken Links. Go to Plugins > Add Plugins > Search for “broken links” and install/activate “Broken Link Checker”
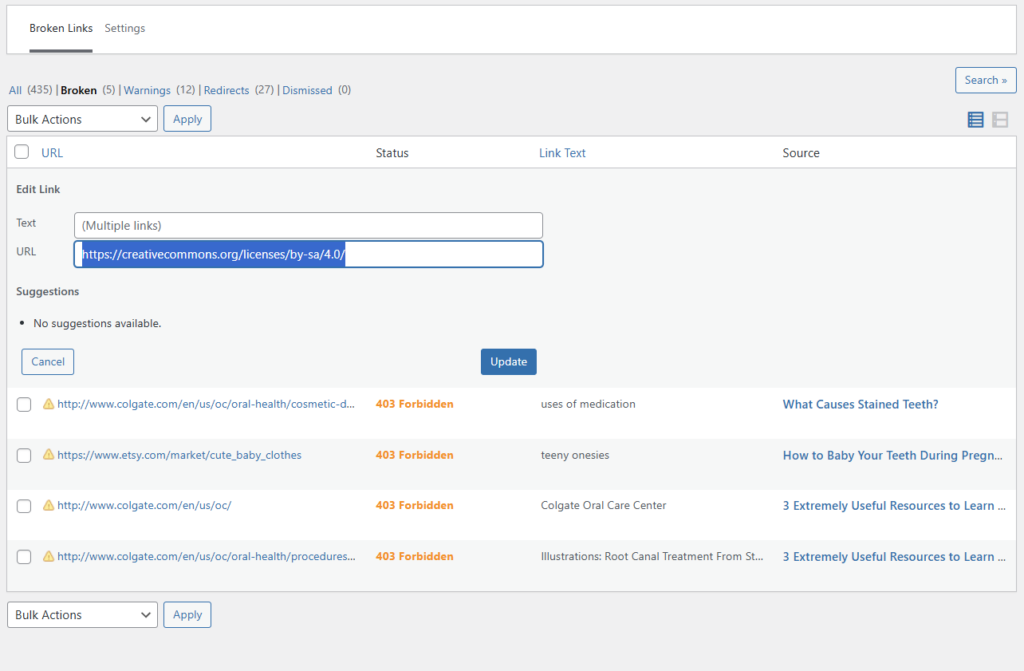
Go to Link Checker > Local (old) and repair broken links, warnings, and redirects. This can take some time to fix and if you notice anything weird – like a creative commons license – Replace the image with one from Adobe Stock!
FML

Finally…
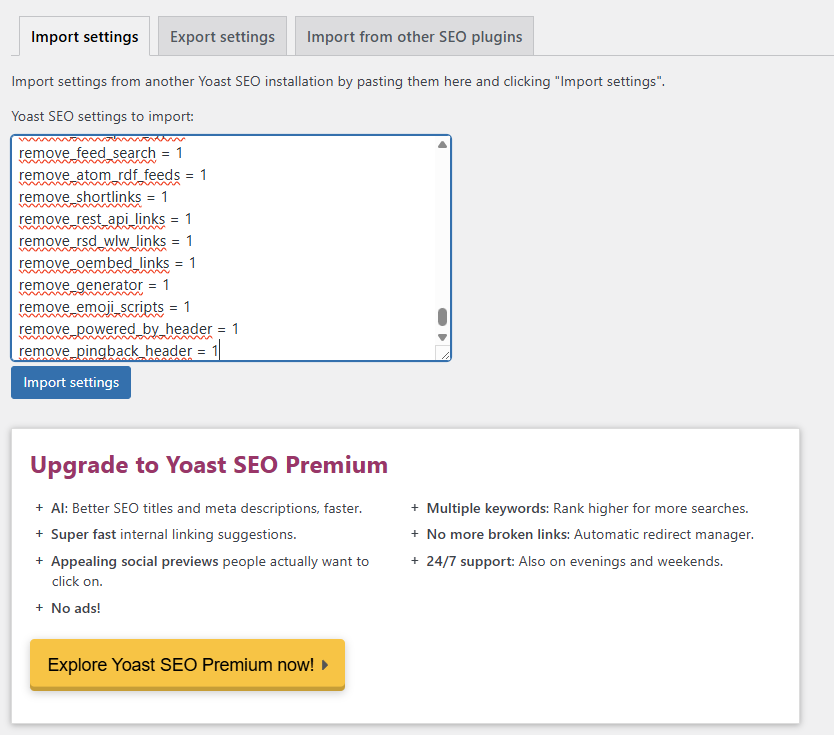
Yoast SEO > Tools > Import and Export – Import the Yoast settings below:
Screaming Frog
Run Screaming Frog. Address any remaining issues and you are done!
